
Desiccated coconut—finely grated, dried, and unsweetened coconut flesh—is a versatile ingredient used in baking, confectionery, and savory dishes around the world. It adds a rich coconut flavor, pleasant texture, and nutritional benefits to everything from cakes and cookies to curries and granola.
While it’s easy to find in stores, making desiccated coconut at home has several advantages: you can ensure it’s fresh, free from additives, and tailored to the texture you prefer. This guide walks you through the process step-by-step, including tips for the best results and creative ways to use your homemade batch.
1. Why Make Desiccated Coconut at Home?
Before jumping into the steps, here’s why making your own can be worth it:
- Freshness: Store-bought versions may sit on shelves for months; homemade is more fragrant and flavorful.
- No additives: You can avoid preservatives, sweeteners, or anti-caking agents.
- Customization: Choose fine, medium, or coarse textures based on your recipes.
- Sustainability: Reduce packaging waste by making it in bulk at home.
2. Ingredients and Tools You’ll Need
Ingredients
- 1 or more mature coconuts (the brown, hard-shell variety)
Tools
- Hammer or mallet (to crack the shell)
- Butter knife or sturdy spoon (to pry out the flesh)
- Vegetable peeler (to remove the brown skin, optional)
- Grater or food processor (for shredding)
- Oven, dehydrator, or large pan (for drying)
- Airtight container (for storage)
3. Step-by-Step Process

Step 1: Select and Prepare the Coconut
Choose mature coconuts—they have firm, white meat ideal for desiccation. Shake the coconut; you should hear water sloshing inside, a sign of freshness.
- Locate the three “eyes” on the coconut and pierce one with a screwdriver or skewer.
- Drain the coconut water into a cup (you can drink it or use it in smoothies).
Step 2: Crack Open the Shell
- Hold the coconut over a bowl and tap it firmly along its circumference with a hammer or mallet.
- Rotate as you tap until it splits in half.
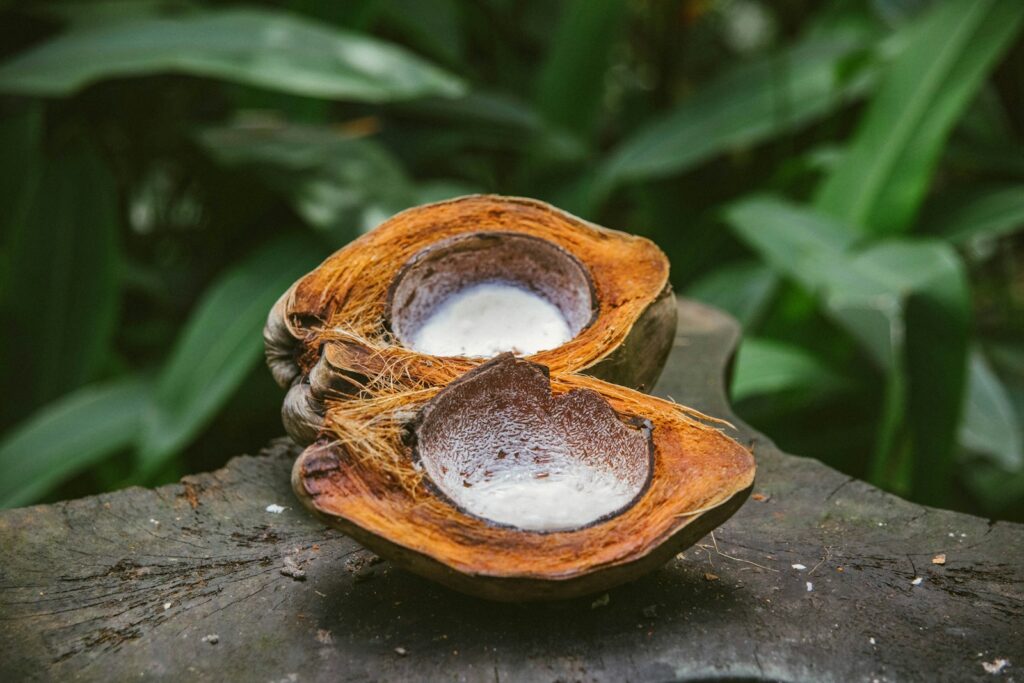
- Use a butter knife or spoon to pry the white meat from the hard shell.
Step 3: Peel the Brown Skin (Optional)
Some recipes call for removing the thin brown layer on the coconut meat to get pure white desiccated coconut. Use a vegetable peeler for this step. However, leaving the skin on adds extra fiber and a slightly nutty flavor.
Step 4: Grate the Coconut Meat
- For fine desiccated coconut, use the smallest holes of a box grater or a food processor with a shredding blade.
- For medium or coarse, use larger holes or a pulse setting in your processor.
Step 5: Dry the Coconut
Drying removes moisture to extend shelf life and create that crumbly texture. You can use three main methods:
Oven Drying
- Preheat your oven to 60–80°C (140–175°F).
- Spread the grated coconut evenly on a baking sheet lined with parchment paper.
- Bake for 45–60 minutes, stirring every 10–15 minutes to ensure even drying.
- Remove when the coconut feels dry but not browned.
Dehydrator
- Spread the grated coconut in a thin layer on dehydrator trays.
- Set to 55–60°C (130–140°F) and dry for 4–6 hours.
Pan Drying (Quick Method)
- Place grated coconut in a large, dry frying pan over low heat.
- Stir constantly for 10–15 minutes until dry and crisp. Be careful not to toast it unless you want toasted coconut.
Step 6: Cool and Store
Allow the dried coconut to cool completely before transferring it to an airtight container. Store in a cool, dry place for up to 3 months, or in the freezer for up to 6 months.
4. Tips for Perfect Desiccated Coconut
- Don’t rush drying: High heat can brown the coconut and change the flavor.
- Uniform shredding: Consistent size ensures even drying.
- Check for moisture: Any dampness can cause mold during storage.
- Batch size: Work in small batches to maintain quality.
5. Uses for Homemade Desiccated Coconut
Once you have your batch ready, the possibilities are endless:
- Baking: Add to cakes, muffins, cookies, and bread for texture and flavor.
- Confectionery: Roll chocolate truffles or energy balls in it.
- Savory dishes: Mix into curries, stir-fries, or rice for a tropical twist.
- Smoothies: Blend into drinks for creaminess.
- Breakfast bowls: Sprinkle over oatmeal, granola, or yogurt.
6. Nutritional Benefits
Desiccated coconut is more than just a tasty ingredient—it’s nutrient-rich:
- Healthy fats: Supports energy and satiety.
- Fiber: Aids digestion.
- Minerals: Contains manganese, copper, and selenium.
While it’s calorie-dense, moderate consumption can be part of a balanced diet.
7. Variations and Flavored Versions
If you want to get creative, try:
- Toasted desiccated coconut: Roast lightly in a pan or oven for a nutty flavor.
- Sweetened version: Toss with a little sugar or honey before drying (for desserts).
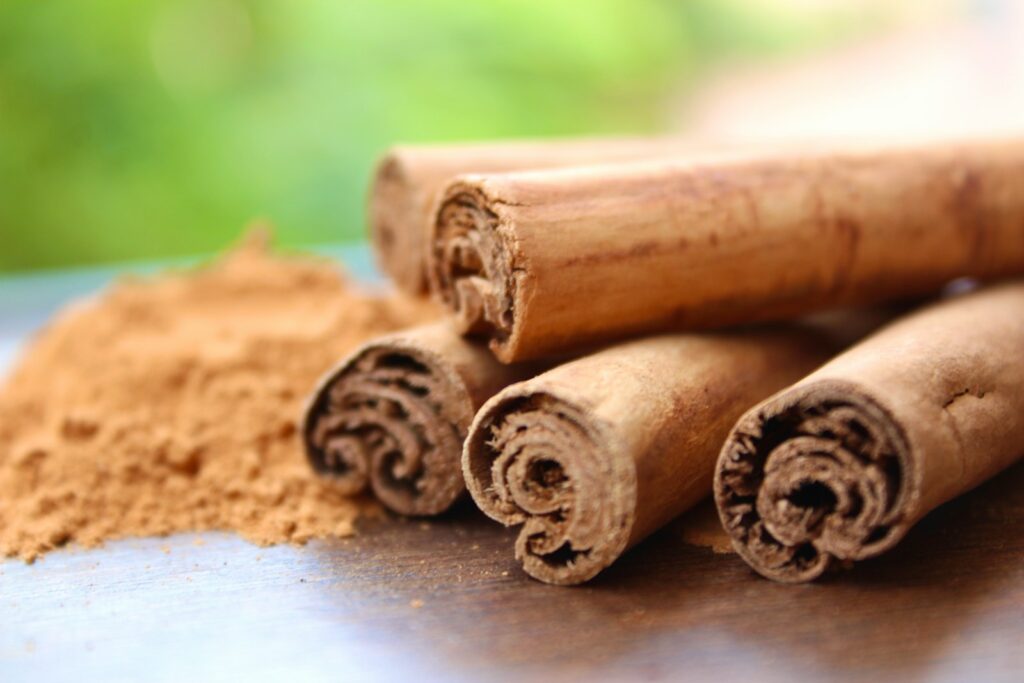
- Spiced coconut: Add cinnamon, vanilla, or cardamom for unique recipes.
8. Troubleshooting Common Issues
- Too brown: Oven temperature was too high or dried too long.
- Clumpy texture: Not fully cooled before storage or residual moisture left.
- Bland flavor: Coconut was old or not fresh before processing.
9. Conclusion
Making desiccated coconut at home is simple, rewarding, and ensures you get the freshest, most flavorful product possible. With just a coconut, some basic kitchen tools, and a little patience, you can prepare a versatile pantry ingredient that enhances both sweet and savory dishes. Once you taste your own homemade version, you may never go back to store-bought again.